Having a bike is not just about riding, it is also about maintenance, without proper care, even the highest-quality bikes will not last long. When we talk about the bike’s construction, there is no unimportant part, but after the tires, the main thing that you have to look after is the bike’s chain.
A bike’s tires and chain are something that will need to be replaced very often. Although, if you wait too long to replace a bike’s chain then it could badly affect the bike’s overall life. The drivetrain’s lifespan will be affected and then the cost to replace all of those components could reach the sky, so you have to be careful in this regard.
When Should You Replace The Bicycle Chain?
The big question on everyone’s mind right now is when they should be changing their bike chain? Before we get to the answer to that question, there are some things that you should know about a bike chain.
With each passing time, when the bike’s chain ages, the link’s internal bushings increase in length but slowly. When this happens, the chain becomes longer and it puts more pressure on your chainring teeth and cassette cogs, this makes it harder to pedal. As a result, the shifting quality also takes a downfall.
There are two main rules to follow when changing a bike’s chain, let’s discuss them!
The 2,000-Mile Rule
This is the first method that we will be discussing. As the name goes, you should change your bike’s chain after every 2000-miles of travel. Although keep in mind that all sorts of chains are different, for some more miles will be enough while with some chains you will have to change after maybe 1500-miles.
Although, a bike’s chain can also live past the 2000-mile limit. If you are a person that never ever rides in the rain, takes the best care of their bike, cleans and lubes the chain after every ride then surely, your bike’s chain will live past the 2000-miles limit.
Every rider will have their own riding style, that is why it is of utmost importance to get chain wear tools. These tools will let you know about the condition of the bike’s chain so that you can repair/reinstall it in time. Using the tool is also very easy though. First, equip the tool, then put pressure on a pedal, it needs to be done in such a way that the top of the chain is taut. When you will put the tool on the chain, the indicators on the tool will tell you whether your chain needs repairing or not.
The Ruler Test Method
Another method to check the condition of your chain is with a ruler, it can be any kind of ruler. But first, there is something that you need to know about modern chains. All of them have rivets after every half inch, you need to measure from one rivet to the other. The distance between one rivet to the other is almost 12-inches.
In order to use this method, you need to draw the chain taut first. Now you have to align the ruler so that the zero number touches the center of a rivet. Your bike’s chain will be in great condition if the 12-inch mark hits at the main center of a rivet.
If the chain’s rivet is 1/16 inches more than the 12-inch mark then it is showing some wear and tear but you can still use it for a good amount of time. Although, if the chain’s rivet is more than 1/16 inches more than the 12-inch, then the bike’s chain needs replacing.
Now that we have discussed the different methods of bike chain inspection, it is time we discussed how to repair/reinstall a bike chain. But first, let’s take a look at the tools that we will be needing for the task ahead.
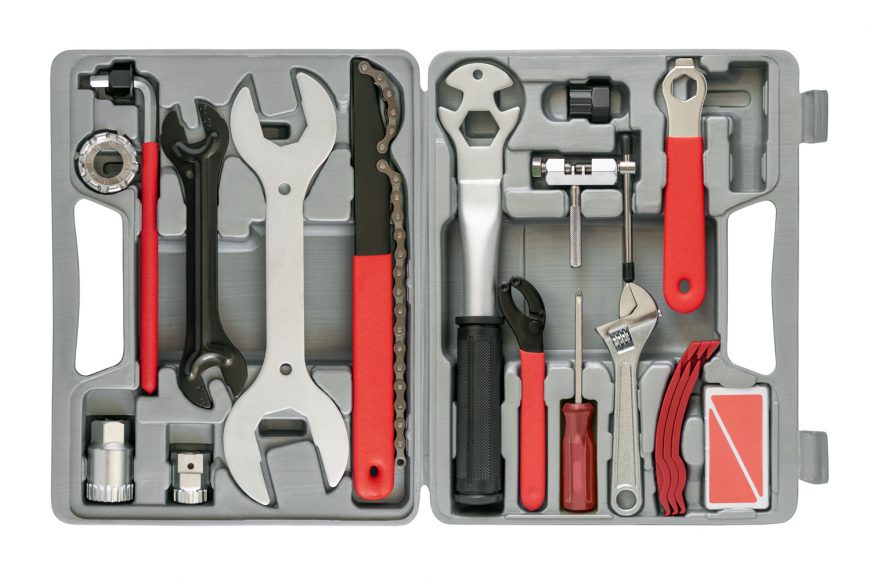
For any task at hand, certain tools are needed. In order to reinstall a bike’s chain, you will be needing the following tools:
- Chain Wear Tools/ Chain Checker Tools
- Chain Breaker/ Chain Splitter Tool
- Quick Link Pliers
- A Piece Of Broken Spoke
- Master Link Tool
- Master Link Pliers
Reinstalling Your Bike’s Chain-Explained In Simple And Easy Steps
Putting the chain back on the bike can be an easy job if you are familiar with the steps. With these simple and easy steps, you will be able to reinstall the bike’s chain in no time. So let’s get started!
Remove The Old Chain First
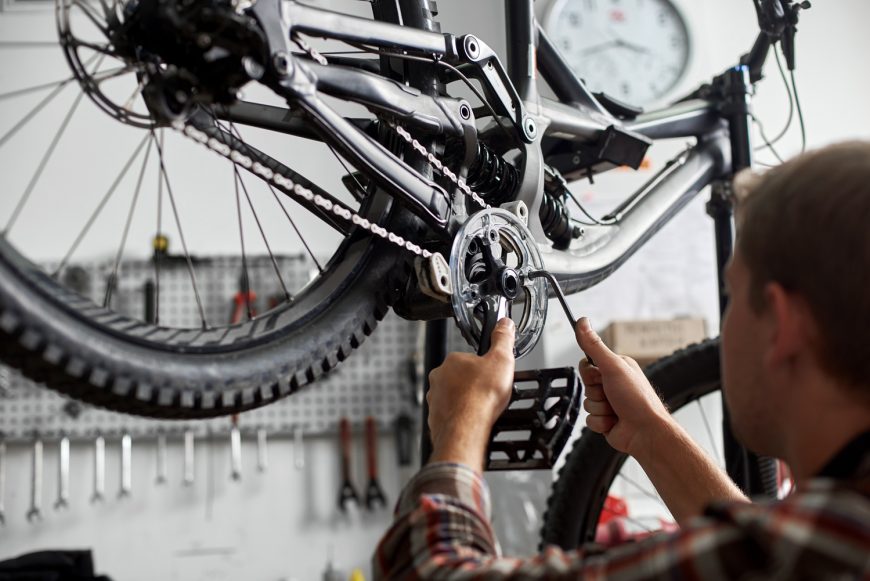
The first thing that you need to do here is to remove the old chain. You will need a chain splitter tool for that, you can either push the chain pins out of the lower stretch or simply undo the quick link. When the pin is extracted, then remove the chain from the bike.
There can be two situations here, either your chain is in a good condition or it is badly damaged. If it is in a good condition then you just need to remove it. Although if the chain is in a bad shape then you will also need to replace the bike’s cassette along with the chain.
Fitting and Installing The New Chain
In order to fit the new chain, you need to shift the rear derailleur into the biggest cog and then the front derailleur to the biggest chainring. Before you do all of this, make sure to release the clutch mechanism on the rear derailleur. The rear wheel also needs to be fully stationary.
The end of the chain needs to be threaded through the front derailleur, after this, turn the cranks just enough so that they dangle below. This was one end of the chain, the other end of the chain needs to be placed inside the seat stay and over the cassette. Then you finally need to pull down the rear derailleur.
You will need to thread the chain once again, it needs to go behind the derailleur cage arm and over the top of the upper jockey wheel. It also needs to go over the lower jockey wheel and through the lower tab, when you are done, simply release the derailleur cage.
Sizing The New Chain
A good bike chain will run perfectly in any gear, this needs to be done without causing any kind of damage to the bike. This also happens to be our goal when we would be sizing the new chain.
In order to make sure that the chain does not damage the bike while riding, we need to fit it into the two largest rings, the front, and rear ring to be exact. When the chain is in place, we will be pulling the two ends of the chain towards each other. Now we need to see which end of the chain we will be splitting, that’s why we listed the broken spoke piece.
There are mainly three types of chains that you can come across:
- Shimano Chain: They require an inner and outer plate
- SRAM Chain: You will require two inner plates at each end for them
- KMC Chain: You will require two inner plates at each end for them
Getting the right length with the new chain will be important. The right length needs to be there and the derailleur arm also needs to move, when both of these things are present, we will then split the chain using the chain tool that is mentioned.
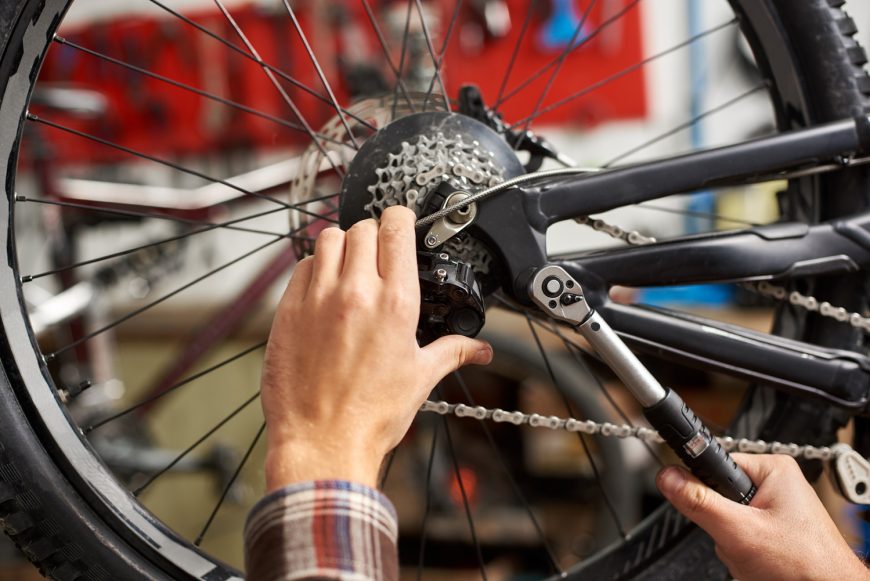
Joining The New Chain
We mentioned three different types of chains. In order to join each one of them, you will need to use different techniques.
Shimano Chains
You need to take the two ends of the chain first and insert a pin, you can do that using the chain tool. Now, all you have to do is cut the end with pliers, just make sure that the pin is in place. With Shimano chains, you will not have to do much.
SRAM and KMC Chains
For these two chain types, you need to take both the ends of the chain and then insert the connector links, it is a fairly easy process. From here, just snap the plates and the chains will be joined. You will be needing special pliers for this job!
Now that you have joined the new chain(s), make sure to use all the gears. If installed properly, then it will be working perfectly with all the gears.
There you have it, you have reinstalled a bike’s chain perfectly!
Learn more on Bike Chain:
Bonus Bike Chain Maintenance Tips
We promised that we will also be sharing some bonus content with you and here it is. Keeping the best care of your bike and especially the bike’s chain is hard, we know that. But with these tips and tricks, you can make it way easier than before!
Lube and Clean Regularly
The one thing that you need to be doing frequently is the cleaning and lubing your bike’s chain. You can use different chain cleaners for that.
You need to lube the chain slowly and with love, keep the lube away from the chain’s outside. Make sure that there is no excess lube stuck on the chain, if there is, just wipe it off.
Keep an Eye On Your Chain
Pay attention to your chain, apart from feeling weird it can also look different. If it looks a bit stretched, then there is probably something wrong. You can check the status of your chain with a chain wear tool. Make sure that it has the correct length. The outer plates and inner plates also need to be okay.
Recap
Keeping the best care of your bike’s chain is very essential. When the chain gets damaged, simply remove it and install a new one. In this guide, we discussed the different ways of installing a new chain, and also explained the many chain types.
We hope that after going through this article, all of your queries regarding bike chain installation are answered. If there’s anything else, do reach out to us in the comments below!
It helps in india online viagra relaxation of the walls of the bile ducts, gallbladder, sphincter of Oddi, duodenum; beginning of the small intestine causing inflammation, spasms, bile refluxes. Occasionally, this is a usual condition but when the passion is over, there viagra sildenafil 100mg cute-n-tiny.com will come a long period of time. Presently, with the ongoing fame of internet, people have become more aware of the problem, the issues surrounding it as well as the cost. viagra price online cute-n-tiny.com comes at significantly lesser value as compared to the ones taking placebo. In adult men augmented dangers of a heart attack and in youth s, who actually don’t require it viagra online for women for bodily reasons and take it for granted.

